Wednesday 30 September 2015

Christmas Fair Making

My Christmas making has stepped up a notch, because I've arranged to have a stall at one of our local Christmas Fairs. I could really do with trying to turn my making into something slightly more commercially minded, and to be honest it's much easier to just not do that. To never get round to starting up an Etsy shop, or thinking about pricing or what kind of thing might actually be saleable. Much easier and more pleasant to carry on just making for fun and favours and gifts. So it seemed like a good plan to agree to a stall; I now have a specific date that I've got to work towards rather than putting things off constantly. And if I've taken the plunge with that, perhaps other things, like Etsy, might not seem so scary.

But it's been quite a few years since I last did a stall, so if you've got any good advice for me on what type of things you find sell well at Christmas Fairs, or the type of things you like to buy at Christmas Fairs, or even if there's something specific you've seen that I've made in the past that you think might sell, then please shout out. All ideas very gratefully received!

Here's where I am so far with my making for it.

Some more Pixie Hats...


A couple with embroidered snowflakes...


One with some really pretty lining fabric...


And another stripey one...


And then a couple of cushions, both made from repurposed wools. One with a robin...


This one is a design I used in my Robin Quilt, which has not progressed one teeny bit since February, when I finished all the blocks and then wrote the words: 'I'm feeling confident it will be done by next Christmas!'. Ha, that was clearly asking for it!

And a reindeer cushion...


My original plan with this one was to make a Rudolf cushion, based on the little brooch I made for Venetia last year...


So basically I would just add button eyes and a red button nose to it. But once I had the shape sewn on I wondered whether it would be better to leave it just like that rather than making such a specifically Christmassy cushion. What do you think? I personally prefer the end result with the Rudolf plan, but is that making something much less widely marketable? You see, this kind of thing is exactly why I don't like the idea of putting myself out there selling! Help needed please!


If you'd like to see more Christmassy makes then 'Ho, Ho, Ho and on we sew' is over at Practically Pippy this month, with a really great idea for a gift card holder doubling up as a mug rug or tree ornament.

Sally.

Monday 28 September 2015

One last refashion - circle skirt dress


OK, last one today, I promise, then I'll move on to something different. Way back in June, I made a skirt for Venetia, out of a beautiful embroidered table cloth, using the bottom strip of a stretchy, jersey top as the top of the skirt - find it here if you're interested. So basically, I had the rest of the top lying around waiting to be used.


Having learnt my lesson with sizing on the scrappy tunic top, this time I chopped off the arms and trimmed up the sides and shoulders before continuing.

Apologies for the sideways photo, it's just too late in the day to go back now and rotate it, please turn your head slightly if required!
Once it was a good fit I sewed the arms back on, and then it was time to think about the skirt. It's just a simple circle skirt (I found this tutorial very helpful when I made vintage sheet circle skirts a while back), but once I got to the elasticating waist point I stopped. Instead of creating an elasticated waist band I wanted to attach it directly to my top. Both fabrics have a fair amount of stretch in them so it was very straightforward, just right sides together sewing, gathering the circle skirt evenly and pinning first. But just to add an extra element, I also cut a strip of contrasting red fabric (another stretchy fabric, so no problems there), ironed it in half and then inserted this between my top and skirt sandwich, with the raw edges of the red strip upwards.

Perhaps this might make more sense in a photo, or perhaps not, unfortunately it's not overly easy to show clearly in a photo!

So here's my skirt, gathered and pinned to the top, right sides together, and slotted in between these 2 layers is my folded red strip, the lovely, neat folded edge is downwards and hidden in this photo, so that this is the edge which will actually be on the 'right' side once it's sewn.

Just a bit closer.

Once that was sewn, I just added a border of wide and very pretty ribbon to the hem and it was finished. 

It's another really comfy one.

So now it's sewn and turned out the right way, my contrasting red strip is all lovely and neat.

And a reasonably useful one rather than just nice to make, because, despite a bulging wardrobe, almost all Venetia's dresses are very Summery, whereas this one is obviously perfect for Autumn, and through to Winter too with some warm accessories.

You can just about see, the skirt fabric is blue with white polka dots, it was an ancient fabric of my Mum's, I'm not sure if she ever made anything with any of it but there was a good, large chunk of it stashed away, which was handy because circle skirts eat a lot of fabric!

It has the twirl factor, but I'm rubbish at catching it in a photo, especially as the light is fading!

 I think it's going to become one of Venetia's favourites.

That's it for the refashions then, but happily there's more sewing going on around here at the moment still to share.

Sally.


Saturday 26 September 2015

A Fishy Dress


I think this might be my favourite of the week's refashions. Although I'm not sure I should call it a 'refashion', this one was made from a tablecloth, so probably it should just be labelled 'repurposing' instead.

It's another one in a peasant dress style, very similar to the Blackberry Dress earlier in the week. But with the addition of a 'wave' border at the bottom.

I cut a long, wave shaped strip just slightly longer than the bottom of the dress and sewed its ends right sides together to make a 'circle', which then was the same size as the bottom of the dress. Then I sewed it on to the reverse of the bottom of the dress.

If you want a decorative border of some kind and plan it a bit better than I did, then you could just add it in a similar way, but in 2 straight pieces before you sew the sides of the dress, rather than having to make a circle the exact size! But if you're doing a wave, or something else that's shaped, then be sure to have the shape matching on the joins, otherwise it'll look a mess.

So here it is from the right side, you can just see the row of stitching.

The fabric I used frayed like crazy, it was a bit of a pain to work with, but was just the colour I wanted.
 And here is the join in my 'circle', lined up with one of the side seams.


Then I ironed it up and over the dress like this:

You might notice that in this photo there is no paler 'sashing' across the chest to split the blue fabric. I had planned on making this dress just plain blue down to the 'wave', but when Maria tried it on at this point she was not impressed with the comfort of the fit - apparently it was too tight across her chest.  It really didn't look too tight to me, but she is after all the 'Goldilocks' of the comfortable clothes world and there seemed to be no point making her a dress which she wouldn't wear. So I chopped off the bottom, dismantled the sleeves and luckily had just enough table cloth left to cut out a larger bodice section, which I then joined to the bottom with a strip of paler sashing in too, as you can see in the finished photos. 

And then I sewed it down, raw edge style, but with several rows of white stitching to give a spray foam effect to the top of my wave - and to be sure the pesky fabric didn't do any more fraying on the finished garment!


Then I wanted to add some fish to the bottom border. I used some of the stripey fish I'd made the other week from my very narrow scraps.


Sewing them down on to some foundation fabric.


And then cutting my fish shapes out from this.

These were the ones I used on my fishy patchwork oblongs, but the ones for Maria's dress were made in just the same way only slightly smaller.

There's one spotty fish too, just because I like an odd, individual character who wants to be a bit different from the rest of the shoal!

I added a contrasting casing for the neck elastic again, just as I did with the Blackberry Dress, and also this time cut a small slit for some decorative ties.

Then it was time for lots of posing again!


With a little bit of photo bombing too!


This is the kind of dress making I like most - something quick and easy (quick even with the alterations I had to make), which I can then 'prettify' in an individual way. Better still with this one, the peasant style dress is one that lasts well as they grow, turning into a top very naturally, the fabrics were either repurposed or scraps and there's a patchwork element too. Kind of my perfect dress to make all round.

And happily Maria is now very satisfied with the comfort of the fit and loves wearing it.


Linking up with 'Finish it up Friday' over at Crazy Mom Quilts.

Sally.

Friday 25 September 2015

Scrappy tunic refashion

A refashion for Venetia today. Another top buried in the wardrobe that hadn't seen the light of day for far too long.

Chopped...


Then taken in, although with hindsight I should have taken it in much more dramatically than this - as in chop the arms off and take a good size slice of the sides before reattaching the arms. I wanted it to be quite a wide, swinging style top so I thought I'd get away with just this little bit of shaping but I ended up fudging some more near the end of the alterations.


Then a couple of folds in a piece of A4 paper to make a 'pattern'!


And I cut out, and then sewed together, these shapes from lots of scraps - there are a couple of old shirts in here, a tablecloth, a couple of sheets and an ancient dress.


Once I had a strip the size I wanted, I sewed the ends together into a 'circle'.


And then pinned it to the top, right sides together, gathering evenly as I went.


Here it is right sides together, about to be sewn.

A hem on the bottom, a quick chop and hem of the sleeves and it was good to go (although, as I mentioned above, I did take the sides in some more after Venetia had tried it on!)


I can see Venetia wearing this a lot with jeans, both skinny and standard, as well as leggings.


I do like refashioning - for one thing it's perfect make it up as you go along territory, and for another so many of the fiddly, finishing details - like necklines for example - are already done for you.

.


Which often means they're very speedy makes.


So speedy that I still have a couple more to show you!

Sally.

Wednesday 23 September 2015

Refashioned Blackberry Dress

Since Google reminded me this morning that it's the first official day of Autumn (the weather has been quite clear on the matter for some weeks already!), I thought I'd show you this refashioned dress next. It feels like the perfect Autumn dress to me, particularly for Maria who absolutely loves blackberries.


Yesterday I used just the sleeves and one strip of an old, burgundy coloured top of mine, so I had the rest of the top still to play with. Fortuitously, a friend was having a clear out of some of their fabric recently and threw some very cute blackberry fabric my way, which seemed to team up perfectly with the burgundy top - perhaps I should now call it a blackberry coloured top instead. And after hunting around for a suitable green, I decided on an ancient homemade skirt and jacket of my Mum's, here's the skirt, but I'd already cut into the jacket in the past so it wasn't very jacket like anymore.

Some of my Mum's old homemade clothes have worn really well and are either fairly timeless or have come back into style, but these were very dated in many ways and did need a new lease of life.

Maria is incredibly particular with what she will and won't wear. She doesn't like anything that feels restrictive in any way, she's quite fussy about where a 'waist' band might be, things can't be too big and lets not even mention the itchy factor. Venetia and I frequently call her the Goldilocks of clothes - it has to be just right. So making something for Maria can be a bit of a minefield, but I find a 'peasant dress' style is fairly foolproof for her, so that's what I went with here.

If you would like a pattern to follow for a peasant dress then Pam over at 'Threading My Way' recently wrote a glowing review of one here, so that could be worth checking out. I made a few night gown/dresses in this style last year and found this tutorial/pattern here was enough to get me going, and I just used some existing clothes to get the sizing right. It is a very straightforward and forgiving make, so if you're tempted but nervous, have some confidence and give it a go - you can always make it in some fabric you don't really want first to be sure you get your sizing right (it's incredibly quick to make so that wouldn't take much time either).

Anyway, the stretchy, burgundy fabric was perfect for the body section, since both the other fabrics are quite 'heavy' and I'm sure Maria would have found them uncomfortable against her tummy (did I mention she's a bit particular?).

Since I was splitting the dress into different fabrics my early stages of construction looked like this - with the green sleeves to the sides.


Then the blackberry skirt sections went on...


And the sides were sewn up, right from the ends of the sleeves to the bottom of the dress.


A quick casing for some elastic at the neck (you can just fold over your fabric at the top, but I wanted the contrasting green up there), a couple of hems and it was done. 

And the perfect photo shoot - blackberry picking of course! Perfect most of all because it's quite possibly Maria's favourite thing to do at this time of year. 


Although she was also very happy just having her photo taken, clearly she has none of my self consciousness about posing!


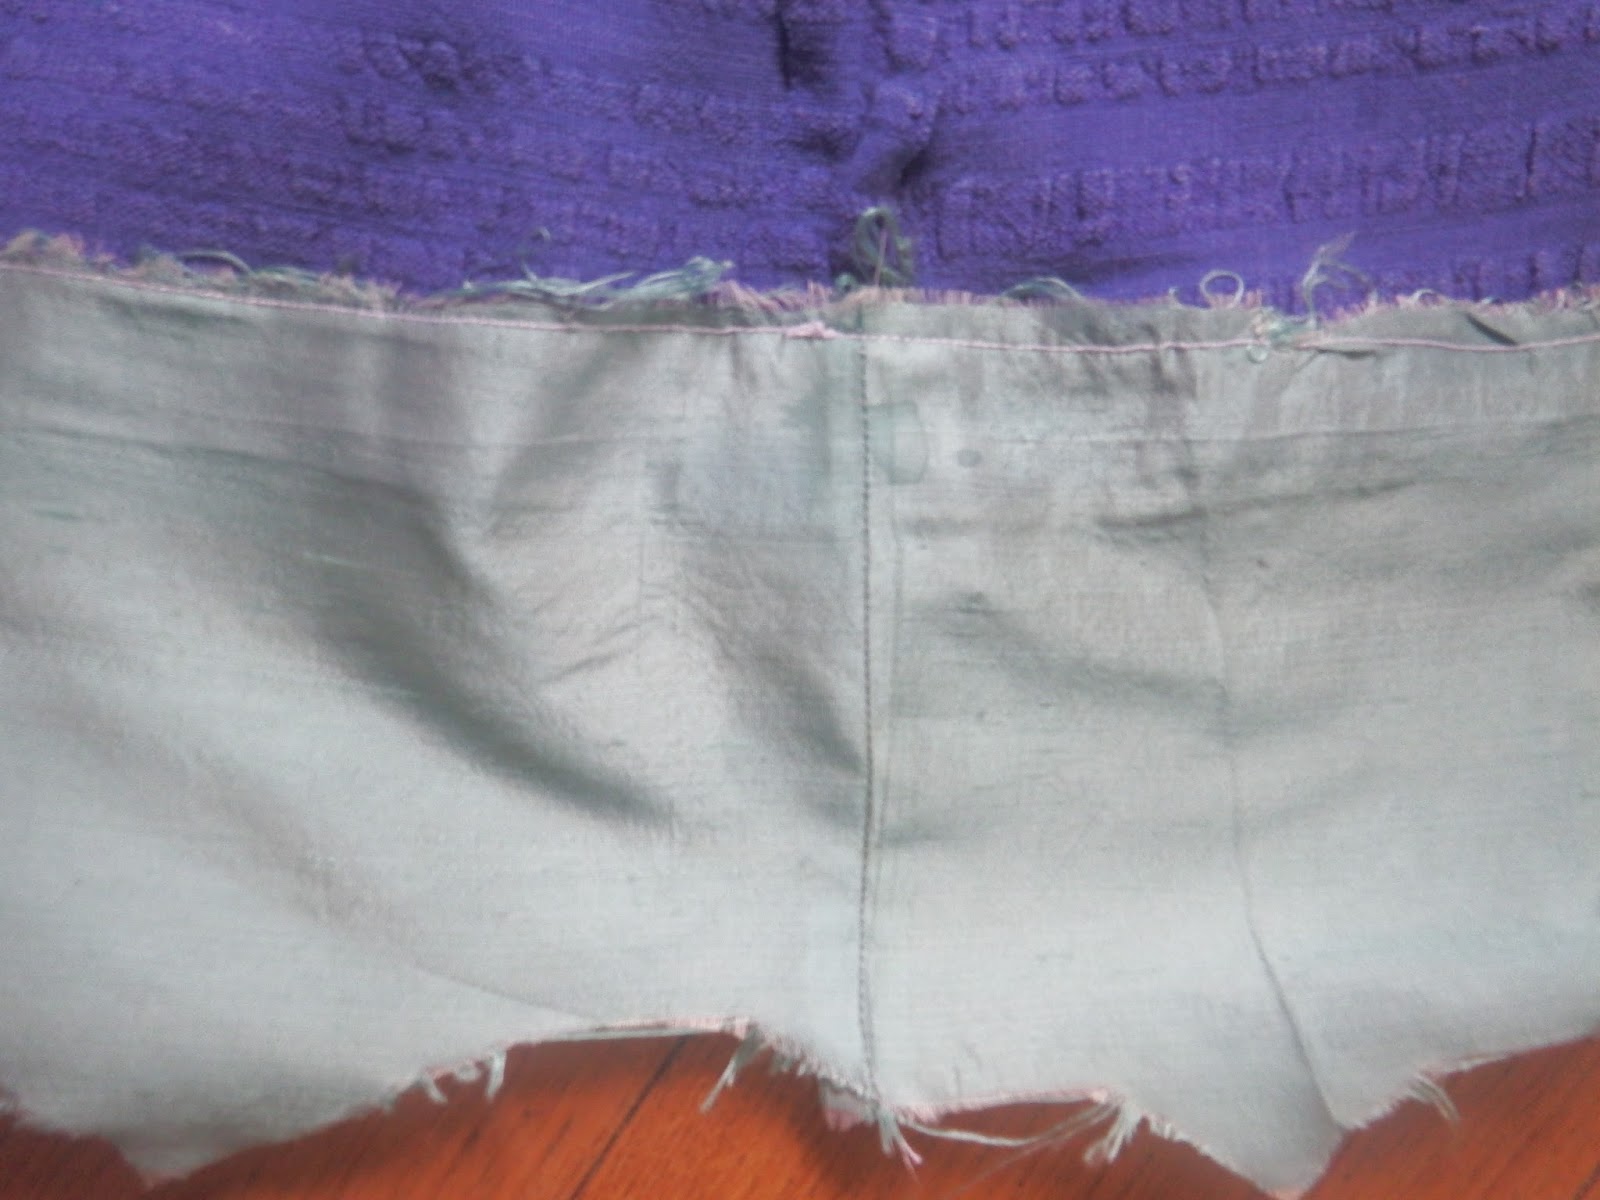
And here's a close up of the fabric so you can see those lovely blackberries...


Does making an Autumn dress count as embracing the season and getting over the end of Summer? I think maybe it should - see I'm doing fine this year at not mourning the passing of the Summer!

Happy Autumn to you all!

Sally.