 |
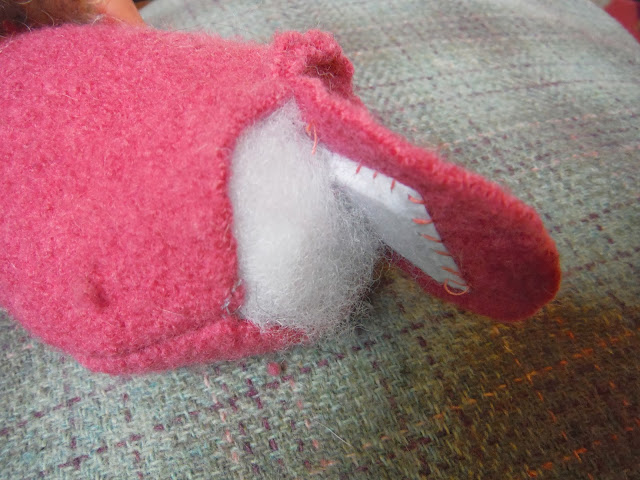
| I used the sleeve of an old wool jacket. |
 |
| Sewed on a face and a few flowers to pretty her up a bit. |
 |
| Wings fron an old wool scarf, with machine sewn 'veins' - helped to stiffen them up as well as add visual detail. |
 |
| Folded over and sewn down the middle too, so they stick out a little. |
 |
| Now sewn onto the back piece of the doll. |
 |
| Right sides together, sewn together - making sure the wings are well folded up inside so they don't get caught in the stitching. |
 |
| Sew a weight on the inside of the base to help her stand up. |
 |
| Stuff and hand stitch on the base. |
 |
| Hand stitch on some 'leaves' for a little cap. The 'blue' marks you can see are from a water soluble fabric pen, it just wipes away with a damp cloth, great for embroidery and loads of other things too. I use mine a lot. Find them here. |
 |
| Stitching on more leaves... |
 |
| Here she is finished. |
 |
| Her bottom! |
 |
| Her back! Told you I took lots of photos! |
 |
| Hurray, she does stand up! |
 |
| A leaf with some machine sewn veins - this is actually the back ... |
 |
| Here's the front - a leaf sleeping bag today. |
 |
| She just about fits... |
 |
| In she goes! All done. |
No comments:
Post a Comment
Please post a comment, I love to hear from you!